
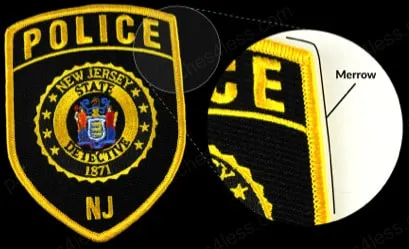
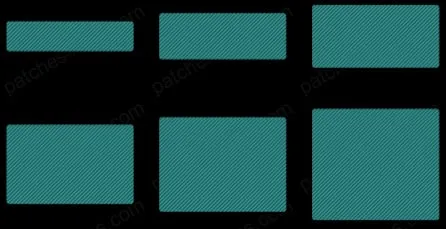
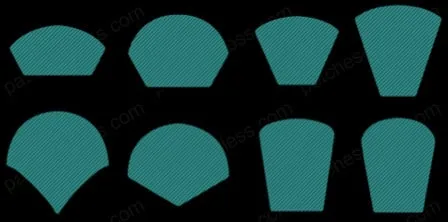
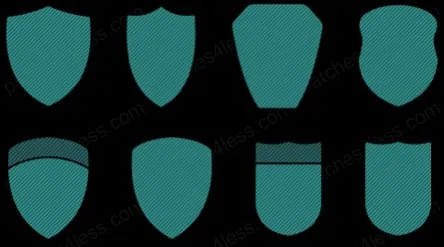
If your patch is A circle, square, rectangle, oval or shield
Merrowed border
A thick stitched edge that wraps around the patch: the classic patch border. It follows simple outlines with smooth curves.
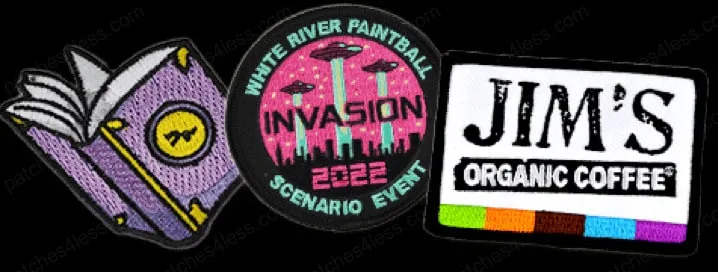
Designing your custom patches is such a fun and creative way to represent your brand, remember a special occasion, or show off your unique style! We know that capturing your vision in a patch design can be tricky. That’s why at Patches4Less.com, we’re here for you every step of the way. Our expert design team is ready to assist you in creating the perfect patch that truly reflects your style and looks amazing once it’s made!
New to custom patches? Start at Patch University for a guided tour of every topic.
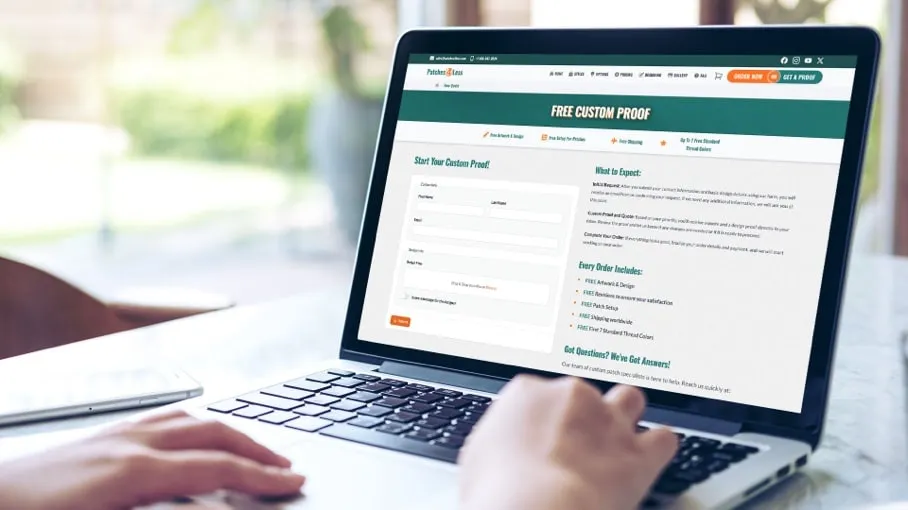
We believe that great designs start with great ideas. Whether you have a detailed sketch or just a rough concept, sharing your thoughts with our team is the first step in bringing your custom patch to life. There are two easy ways to send us your design:
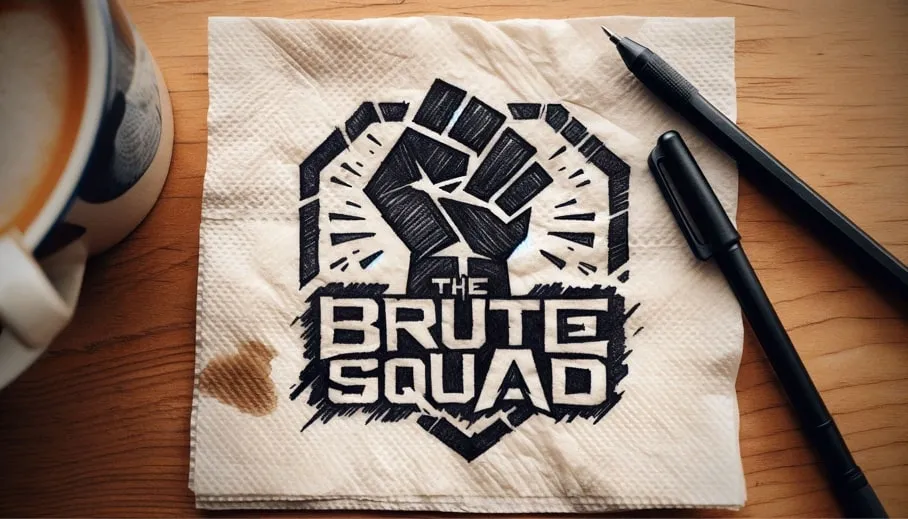
If you’ve got a rough sketch of your design, feel free to send it via email or upload it directly on our website! Make sure to share all the details you can think of: colors, shapes, and specific elements you’d like to see. The more you tell us, the better our designers can bring your vision to life in a mockup.
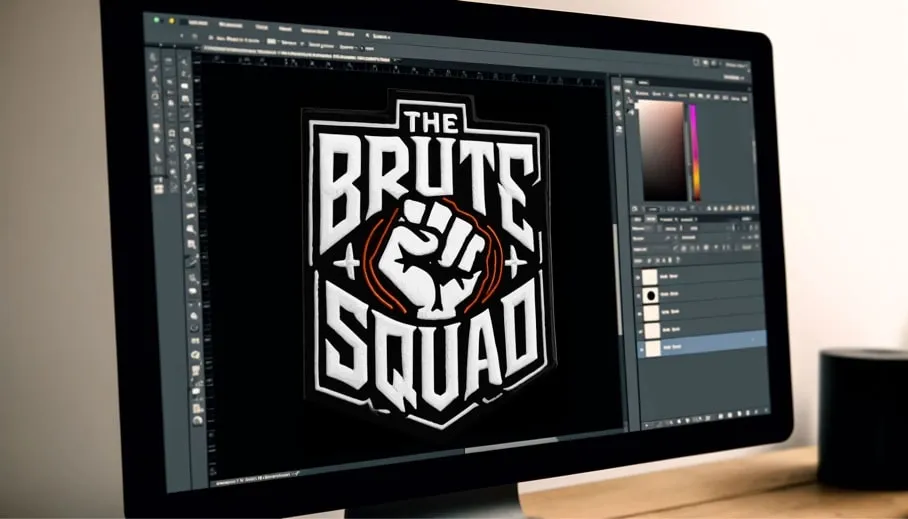
If you have a finely tuned design, feel free to upload your design file along with all the details. This will help our team understand your vision clearly and make sure nothing gets overlooked during the process of turning your concept into a mockup.
At Patches4Less.com, creating your custom patch is an exciting journey! Let’s walk through the essential steps that bring your idea to life.
To get started, share your design ideas with us! You can send us an email or upload a simple sketch along with some notes. Alternatively, you can submit a full design file directly on our website. This first step helps us grasp your vision and the unique elements you’d like in your patch.
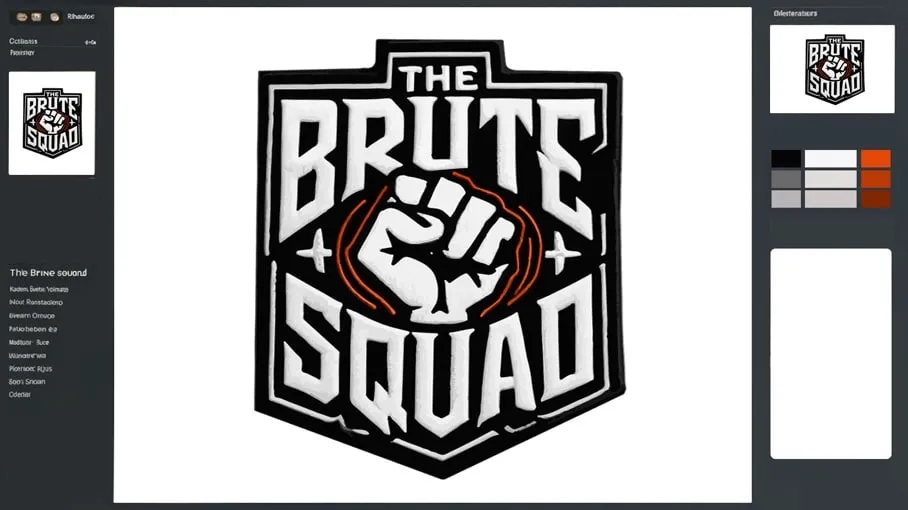
After we get your design, our amazing team of artists will craft a detailed digital preview of your patch. This preview will showcase approximately how your patch will appear, showing you its colors, shapes, and intricate details.
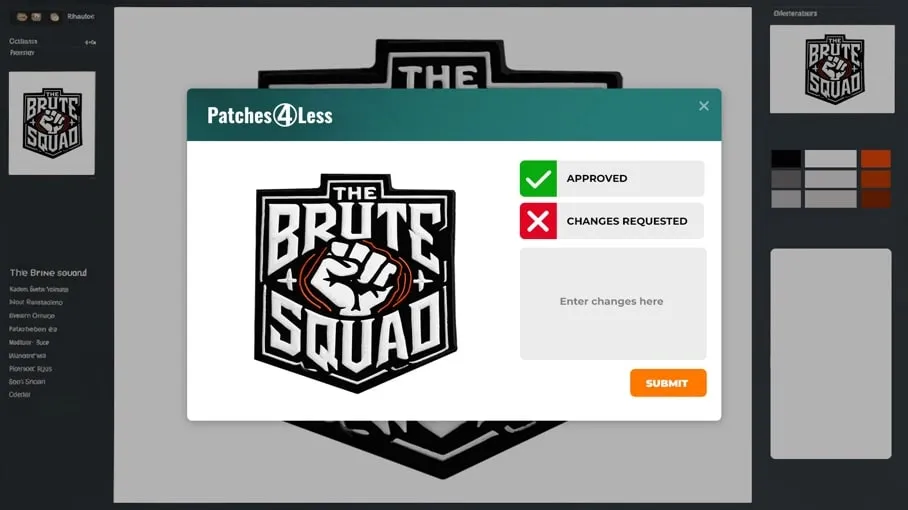
Once you’ve had a look at the digital proof, feel free to give the design your approval or ask for any tweaks you’d like. Remember, we’re happy to make as many changes as needed until every bit is just the way you want it. Your satisfaction with the final design is our top priority!
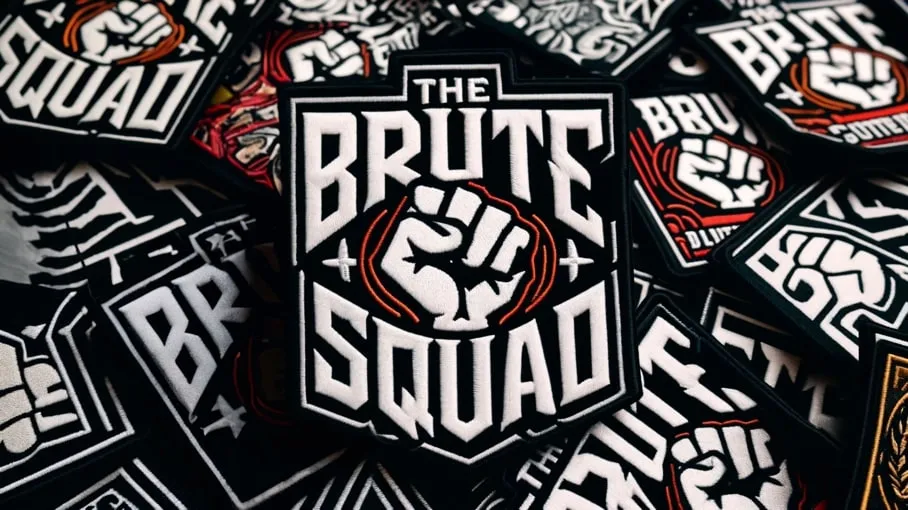
Once you give the final design your thumbs up and make the payment, we’ll start working on bringing your custom patches to life. Rest assured, each patch is meticulously crafted with precision and care before being sent your way. Anticipate the arrival of your custom patches at your doorstep around 14 to 22 days after you’ve approved your order and completed the payment. See our FAQ for more about turnaround times.
Determining the right size for your custom patch is crucial to ensure it fits your design perfectly. The size of your patch affects how well the details of your design are displayed, ensuring your logo, emblem, or graphic looks its best.
Custom patches come in all sorts of shapes and sizes. To ensure we give you accurate pricing, we base this on the average size of your patch. Here’s a quick and easy way to figure out the size:
Dial in your Patch Size
Your patch size
Sizes round up to the nearest half inch. This is for pricing purposes only.
This simple calculation gives us the average size of your patch, which helps us provide precise and fair pricing just for you. Accurate measurements ensure you get a price that’s perfect for your specific needs and will help you find a patch size that fits your budget. Visit our pricing page to see costs by size.
Start with your artwork. Find the line that sounds most like your design.
If your design has Small text, fine lines or lots of detail
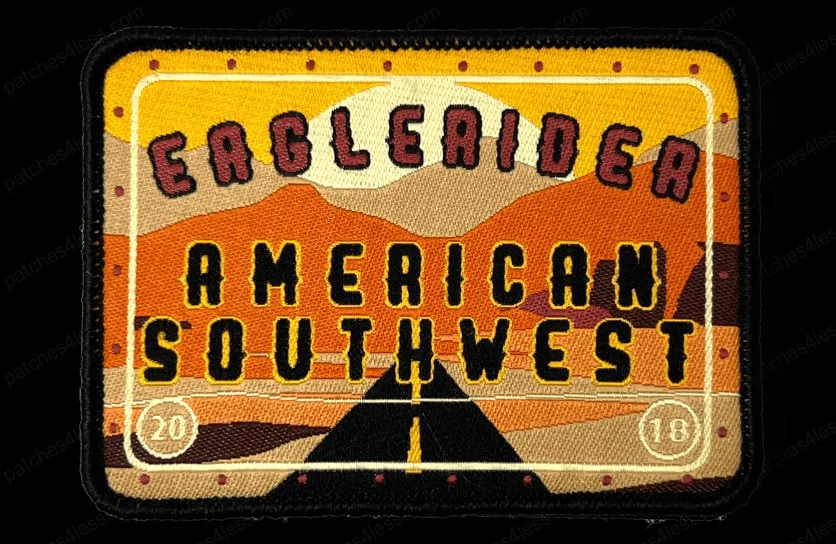 Woven patches
Thinner thread in a tight weave keeps small lettering and fine lines sharp.
If your design has Photos, gradients or a lot of colors
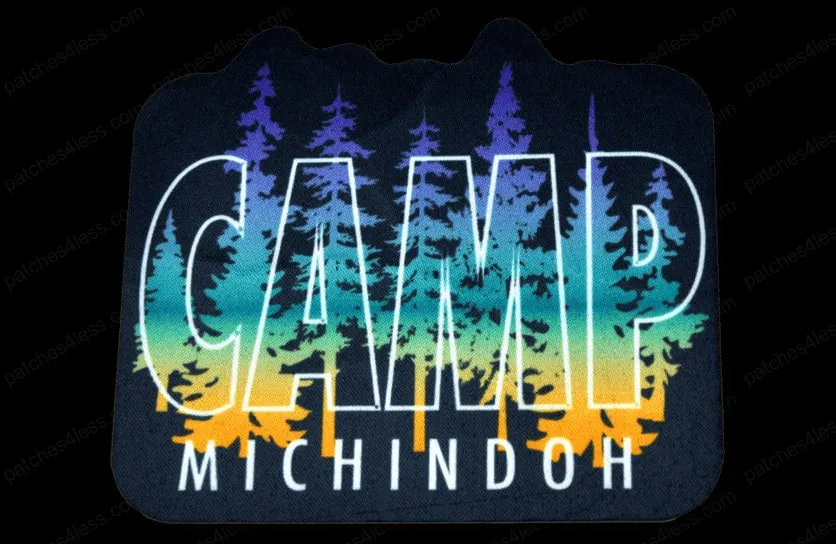 Printed patches
The art is printed, not stitched, so shading and color count aren’t limited by thread.
If your design has A bold logo with clean shapes
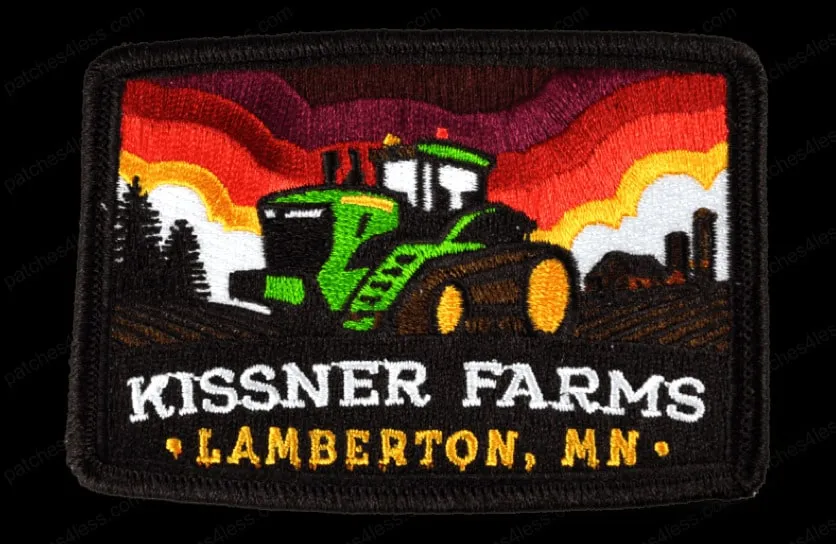 Embroidered patches
Raised, textured thread: the classic patch look for teams, clubs and uniforms.
If your design has A raised, rubbery look
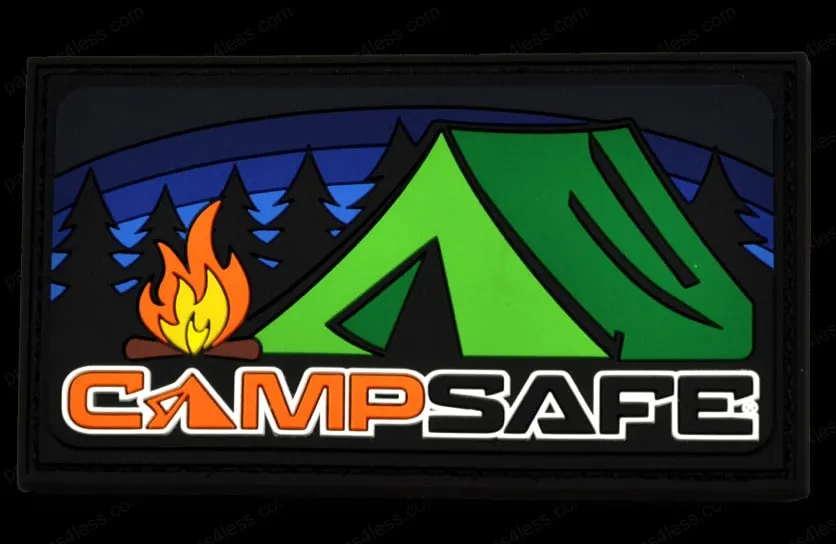 PVC patches
Molded from soft PVC, flat or with raised layers you can feel.
If your design has A branded label for hats, bags or jackets
 Leather patches
Faux or genuine leather, laser engraved, UV printed, debossed or color-filled.
If your design has Just a name or title
 Name patches
Embroidered name patches for uniforms, workwear and team jackets.
Not sure? Send your artwork and our design team will suggest a type, with a free digital proof and unlimited revisions.
Get a free proof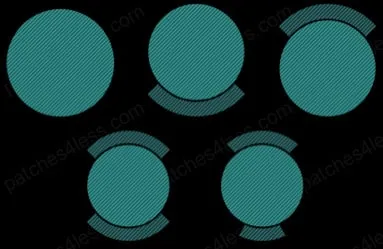
The threads you choose for your custom patch are crucial to achieving the perfect look. The right thread colors can enhance your design, making it vibrant and eye-catching. Here’s what you need to know about selecting the best threads for your patch:
Explore our thread color charts below to find the ideal colors for your patch. Our wide range of options ensures you’ll find the perfect threads to make your design truly stand out. And remember, our dedicated design team can handle the color selection for you, ensuring the best results for your custom patch.
The border is the finishing edge of your patch. It plays a big part in how the patch looks and how well it holds up. There are two options, merrowed and hot-cut (custom shaped), and your patch’s shape decides which one fits.
If your patch is A circle, square, rectangle, oval or shield
A thick stitched edge that wraps around the patch: the classic patch border. It follows simple outlines with smooth curves.
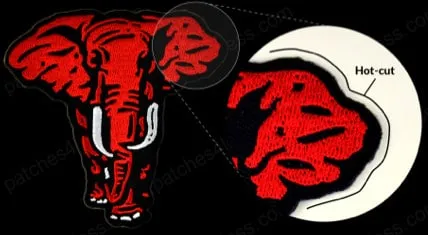
If your patch is Cut to the outline of your design
The edge is cut with heat, which seals it so it won’t fray. It can follow a detailed outline, like the elephant here.
Your free proof shows the border on your design, so you can change it before anything is made.
When designing your custom patch, there are several important details to consider that can significantly affect the final look and quality. Understanding these details will help you make informed decisions and ensure your patch turns out exactly as you envision.
Both woven and embroidered patches have their strengths, and the “better” choice depends entirely on your design needs and intended use. Here’s a detailed comparison to help you decide:
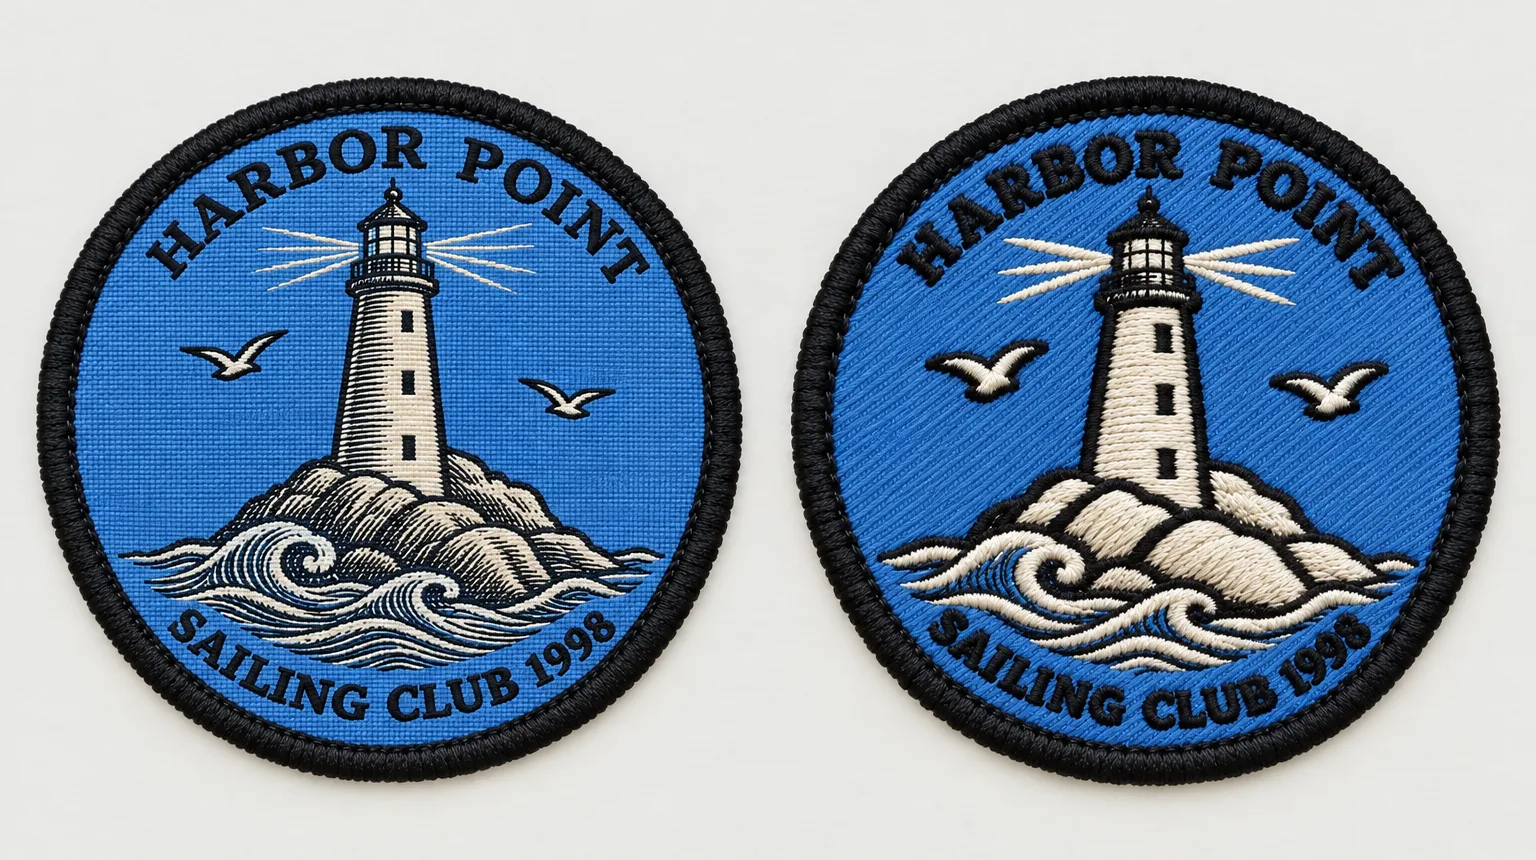
The same design made both ways: woven on the left, embroidered on the right. Weaving keeps the fine shading lines; embroidery turns them into bold, textured stitches.
| Feature | Woven | Embroidered |
|---|---|---|
| Thread Type | Thinner, woven flat | Thicker, raised |
| Detail Level | Intricate designs (stronger option) | Bold, simple designs |
| Texture | Smooth, flat | Raised, 3D look |
| Durability | Very durable | Extremely durable (stronger option) |
| Best For | Corporate logos, detailed graphics | Military, sports, uniforms |
| Starting Price | $0.67/patch | $0.47/patch (stronger option) |
The Verdict: Choose woven patches if your design has intricate details, small text, or requires a smooth, professional finish. Choose embroidered patches if you want a classic, textured look with maximum durability at the most affordable price point.
Embroidery coverage is how much of the patch is covered in thread. Wherever there is no thread, the twill fabric the patch is stitched on shows through as the background. You can choose 50%, 75% or 100% coverage.

Minimal 50% coverage

Moderate 75% coverage

Full 100% coverage
| Feature | Minimal | Moderate | Full |
|---|---|---|---|
| Thread coverage | 50% | 75% | 100% |
| Background | Twill fabric in one solid color | Mostly stitched, some twill shows | No twill shows |
| Best for | Text and simple logos | Most logos and badges | Detailed artwork, scenes, multi-color backgrounds |
| 100 patches at 3″ | $1.99 each (stronger option) | $2.17 each | $2.37 each |
Coverage, size and quantity set the price. See every size and quantity for each level in the embroidered patch price tables.
Embroidered patches use two main stitch techniques, each suited to a different part of your design:
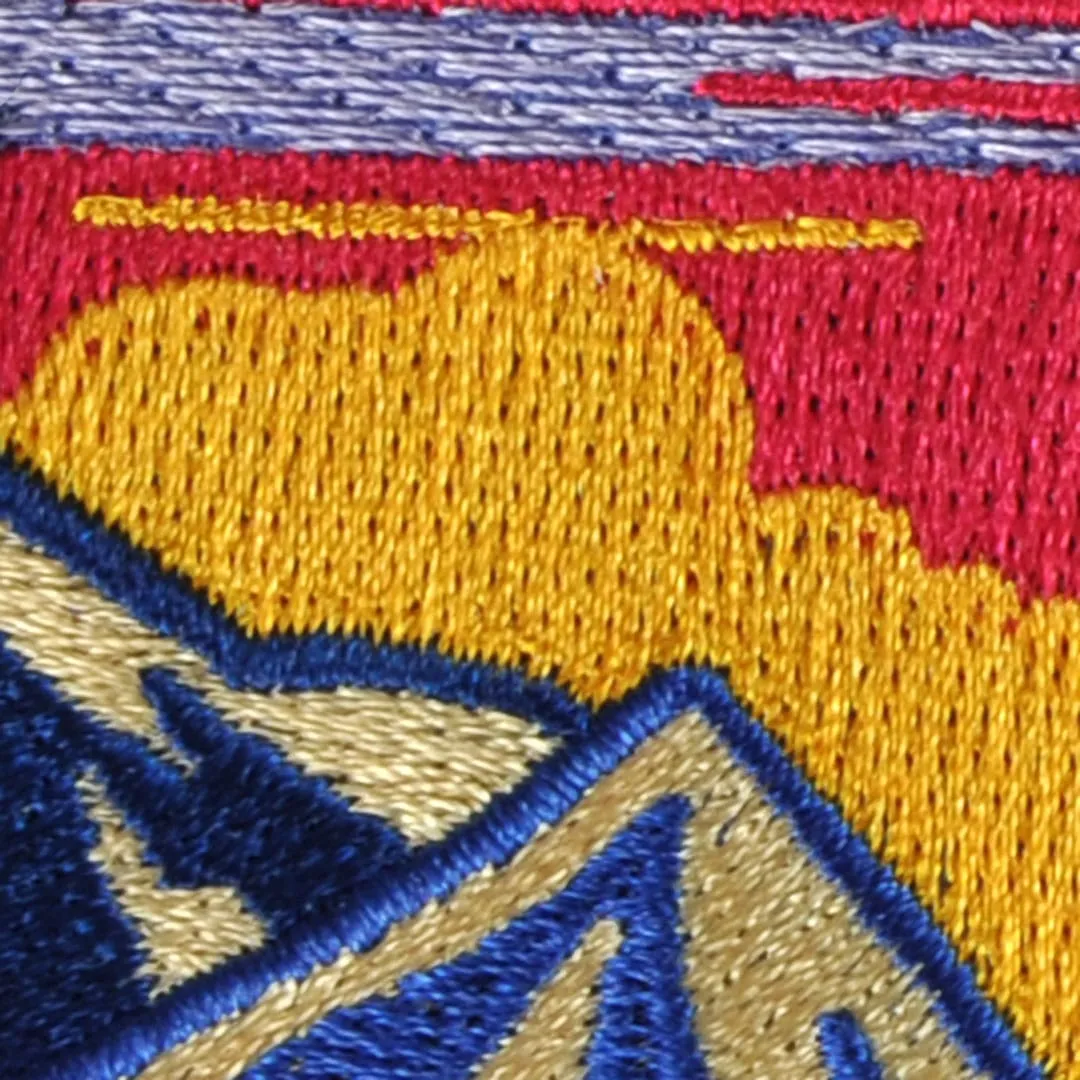
Jump stitches are the threads that “jump” between separate parts of a design without being trimmed, connecting different elements efficiently as the machine works, which keeps the pattern aligned and intact.
You’ll often see them between letters, separated design elements, and small details that sit close together. While they can be visible on the front of the patch in places, they’re a normal and necessary part of the embroidery process and don’t affect the quality or durability of your patch.
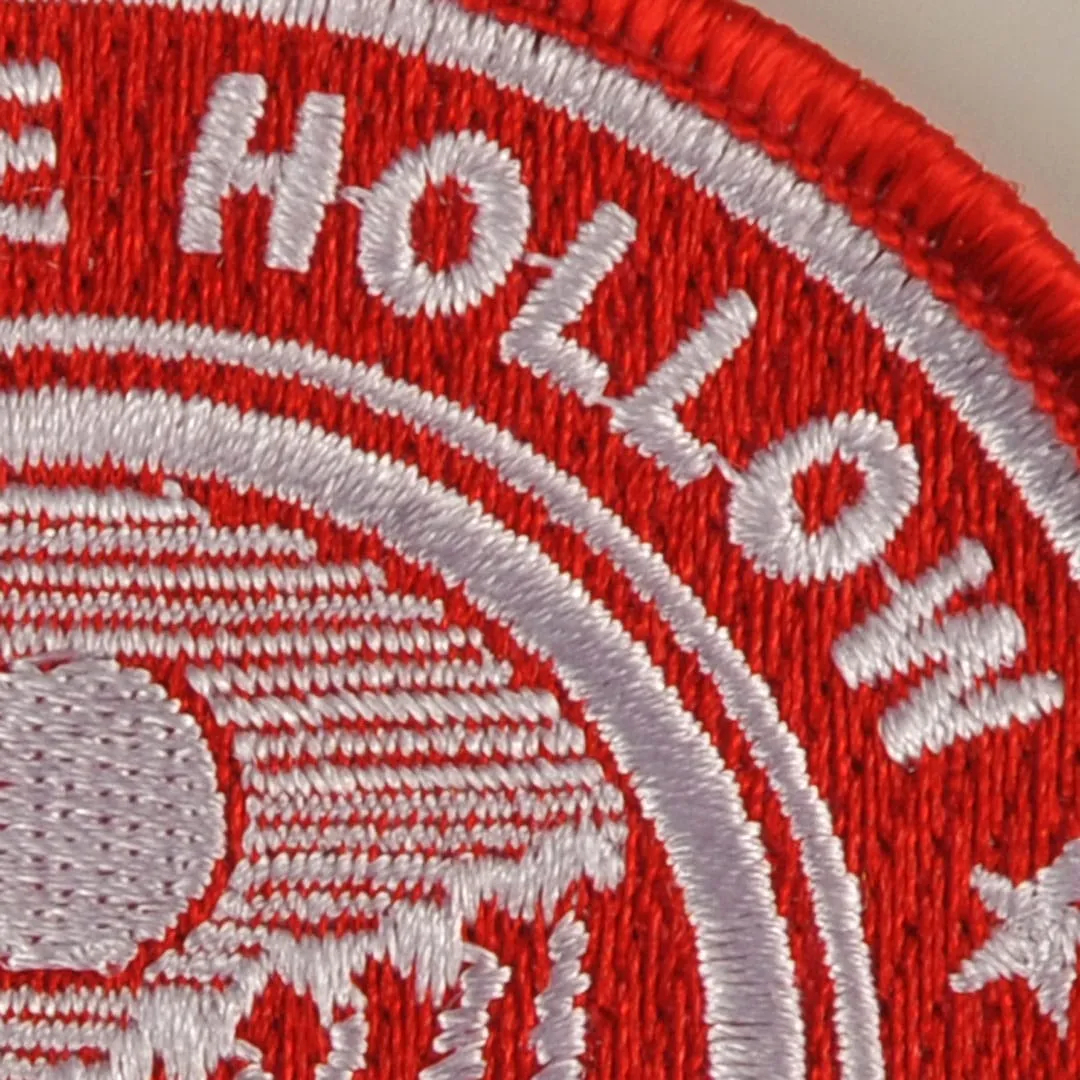
Choosing between PVC and embroidered patches depends on your priorities: cost, durability, appearance, and intended use. Here’s a comprehensive comparison to help you make the best decision:
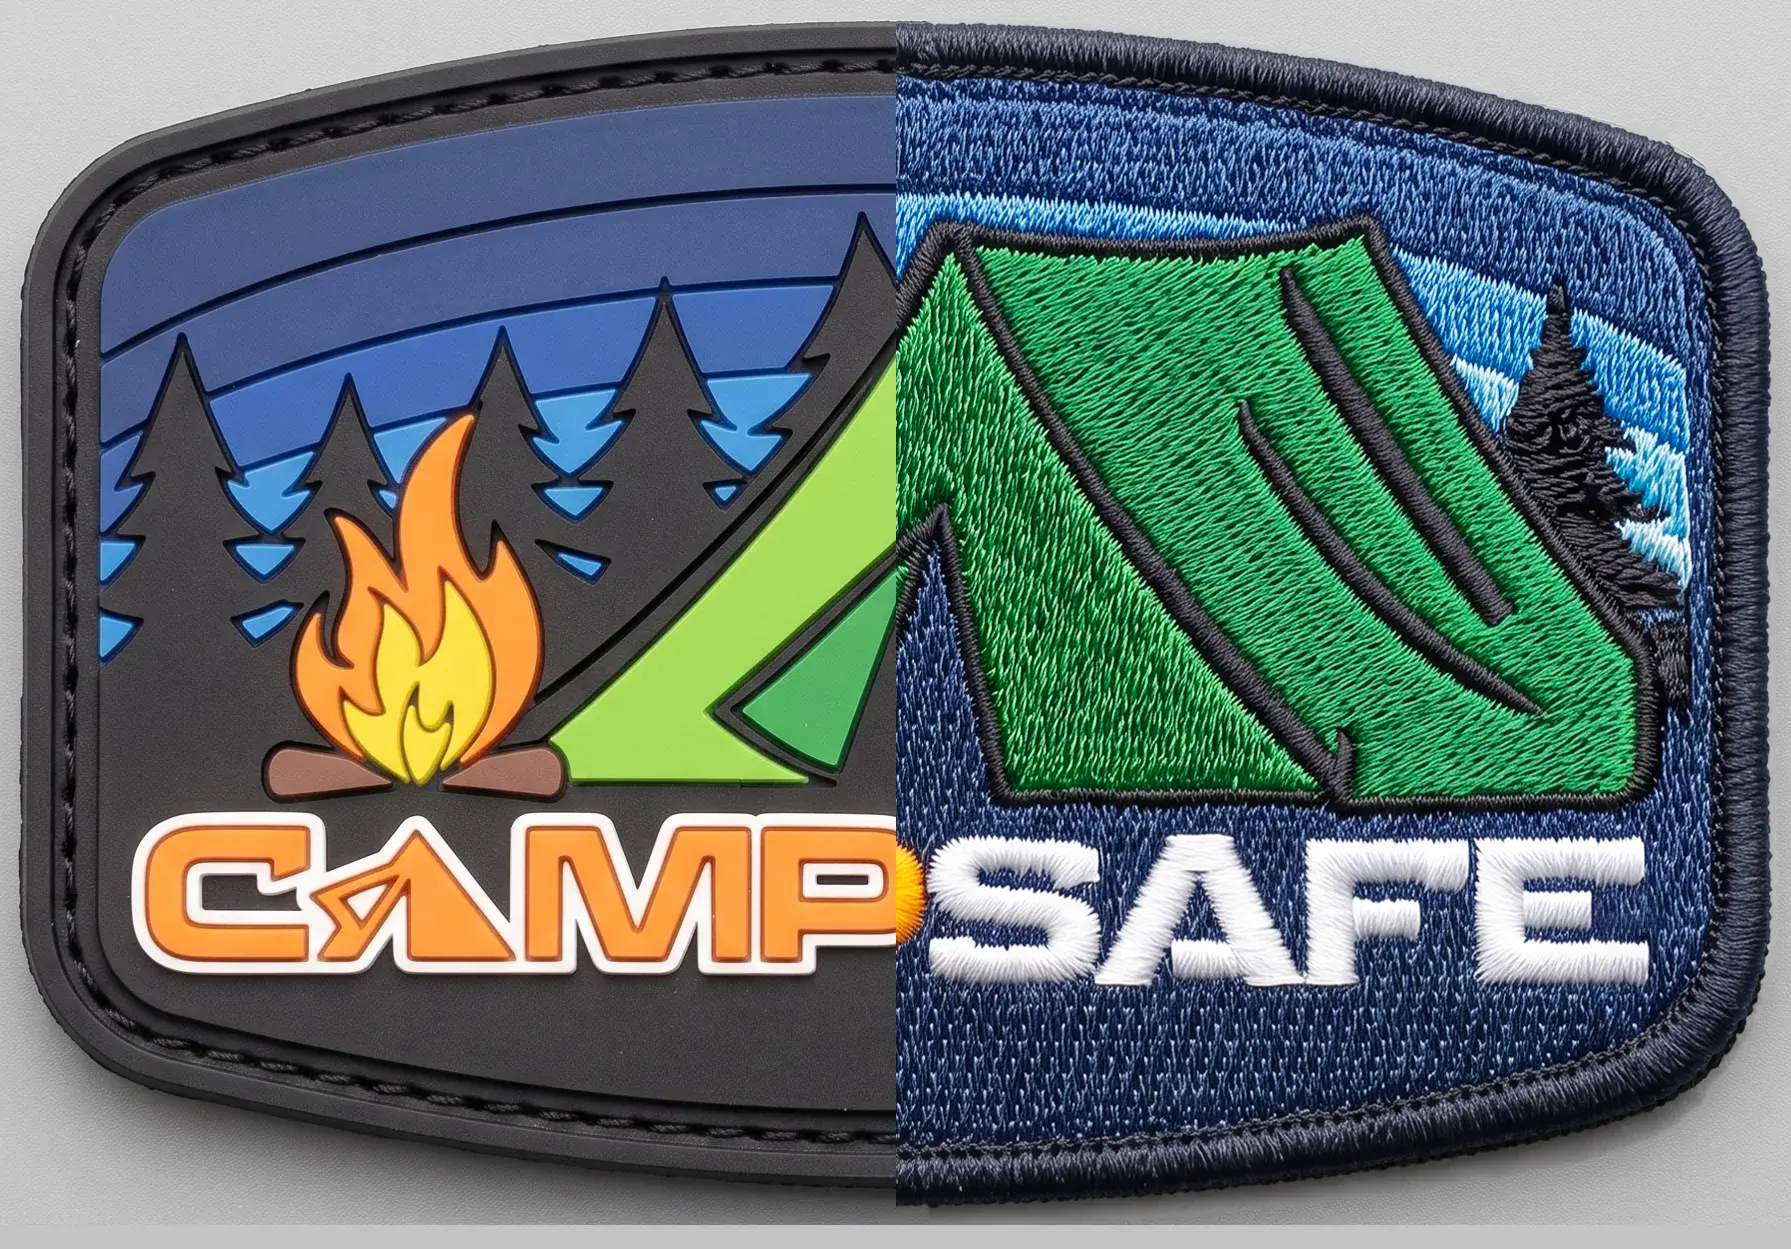
The same patch made both ways: PVC on the left, embroidered on the right.
| Feature | PVC Patches | Embroidered Patches |
|---|---|---|
| Material | Soft rubber/vinyl PVC | Thread on twill fabric |
| Durability | Exceptional: waterproof, weatherproof, UV resistant (stronger option) | Very durable, may fade over time outdoors |
| Weather Resistance | Excellent: won’t fade, rot, or deteriorate (stronger option) | Good, but can fade with prolonged sun exposure |
| Appearance | Modern, 3D raised design, bold colors | Classic, textured, traditional look (stronger option) |
| Detail Level | Excellent: sharp edges, fine details (stronger option) | Good for bold designs, limited fine detail |
| Best For | Outdoor gear, tactical equipment, backpacks, hats | Uniforms, jackets, traditional applications |
| Weight | Slightly heavier, more rigid | Lightweight, flexible (stronger option) |
| Starting Price | From $0.93/patch | From $0.47/patch (most affordable) (stronger option) |
| Production Time | 3-5 weeks | 14-22 days (faster) (stronger option) |
The Verdict: Choose PVC patches if you need maximum weather resistance, outdoor durability, and a modern 3D look. They’re ideal for tactical gear, outdoor equipment, and harsh environments. Choose embroidered patches if you want the most affordable option with a classic appearance, faster production time, and traditional textile feel.
The backing you choose affects how you attach your patch, how long it lasts, and how easy it is to remove. Here’s everything you need to know to make the right choice:

| Feature | Iron-On (Heat Seal) | Sew-On (Plain Back) | Velcro (Hook & Loop) |
|---|---|---|---|
| Attachment Method | Heat-activated adhesive, use household iron (stronger option) | Hand or machine stitch around edges | Press onto loop surface, instant attachment |
| Installation Difficulty | Very easy: 30 seconds with an iron (stronger option) | Moderate: requires sewing skills or a machine | Easiest: instant press-on attachment (stronger option) |
| Permanence | Semi-permanent (lasts 20–30 washes, can be reinforced with stitching) | Permanent: lasts the lifetime of the garment (stronger option) | Removable: swap patches anytime (stronger option) |
| Durability | Good for light to moderate use | Excellent: most durable long-term (stronger option) | Excellent: industrial-strength attachment (stronger option) |
| Removal | Difficult: may leave adhesive residue | Possible but requires cutting stitches, may damage fabric | Instant: peel off and swap (stronger option) |
| Best For | T-shirts, hoodies, jackets, hats, backpacks, kids’ clothing | Uniforms, formal wear, leather, permanent placement | Military/tactical gear, work uniforms, bags, hats, changeable displays |
| Wash Durability | 20–30 cycles (can be extended with stitching) | Unlimited: permanent attachment (stronger option) | Excellent (remove before washing recommended) (stronger option) |
| Additional Cost | +$0.12 per patch | FREE (standard) (stronger option) | +25% per patch |
The Verdict: Choose iron-on backing for quick, easy application on casual garments without sewing. Choose sew-on backing for permanent, professional attachment that lasts the lifetime of the garment. Choose Velcro backing if you need to swap patches frequently, want instant removal, or are outfitting tactical or military gear. Many customers choose Velcro for work uniforms to easily change name tags or identification patches.
Our recommendation: If you go with an iron-on backing, we recommend also sewing the patch on, especially for garments that will go through the wash. A few stitches around the edge keep your patch secure through repeated washing and everyday wear.
Knowing these details can help you better understand the options available for your custom patch and make choices that enhance your design. If you have any questions or need further guidance, our design team is always here to assist you.
Send us your artwork, logo, or a rough idea through our free quote page. Our design team creates a free digital proof, offers unlimited free revisions, and once you approve it we begin production.
Patch size is measured by averaging the height and width. Larger patches hold fine detail and small text better. Use our patch size calculator to estimate size and pricing.
Embroidered patches give a classic, textured look and are ideal for bold designs. Woven patches use finer thread, so they reproduce small text and intricate detail more sharply. See woven vs. embroidered.
Embroidery coverage is how much of the patch is covered in thread: 50% (minimal), 75% (moderate) or 100% (full). Wherever there is no thread, the twill fabric shows as the background. More coverage costs more per patch. See embroidery coverage.
Merrowed borders are a classic stitched edge best for standard shapes. Hot-cut borders are heat-sealed for a clean edge around custom shapes. See selecting a border.
We offer iron-on, sew-on, and hook-and-loop (Velcro) backings. See the backing comparison.
Embroidered patches typically ship in about 14 to 22 days after you approve your digital proof. Artwork, setup, and shipping are free.
Unsure about thread choices, stitch types, or border styles? Our design team will guide you every step of the way, with free artwork and design, free setup, free shipping, and up to 7 free standard thread colors.
4.8/5 Google Reviews · Trusted since 2003 · 100% quality guarantee
The complete guide to custom patches: sizing, patch types, shapes, threads, borders, backings and more. Free proof, unlimited revisions, free shipping.