How to Iron On A Patch A Complete Step-by-Step Guide
Iron on patches are a fantastic way to personalize clothing and accessories. This guide provides an easy-to-follow, step-by-step approach to help you attach patches seamlessly.
Which Patch Types Are Iron-On Ready?
Not all patches are made for iron-on application. The key is in the patch backing — specifically, a heat-activated adhesive backing is required for a successful iron-on process. Commonly available for embroidered, woven, and printed patches, these backings melt under heat to bond securely with the fabric.
Note: Patches made from PVC, leather, or other heat-sensitive materials are incompatible with iron-on methods. Sewing or Velcro® attachments are better suited for these types. Always verify your patch’s backing and material before proceeding to ensure a durable, successful application.
Selecting the Right Fabric for Iron-On Patches
Fabric type plays a crucial role in successful patch adhesion. Some fabrics work well with iron-on patches, while others don’t.
-
Ideal Fabrics: Sturdy, heat-resistant fabrics such as denim, cotton, and canvas handle iron-on applications best.
-
Fabrics to Avoid: Delicate fabrics like silk, leather, suede, and stretch fabrics (e.g., elastane, spandex) can scorch, warp, or lose elasticity with high heat.
Tip: Always check the garment’s care label for heat guidelines. If ironing is discouraged, consider sewing the patch instead.
Seven Easy Steps to Ironing On Your Patch
Step-by-Step Instructions for Perfect Iron-On Application
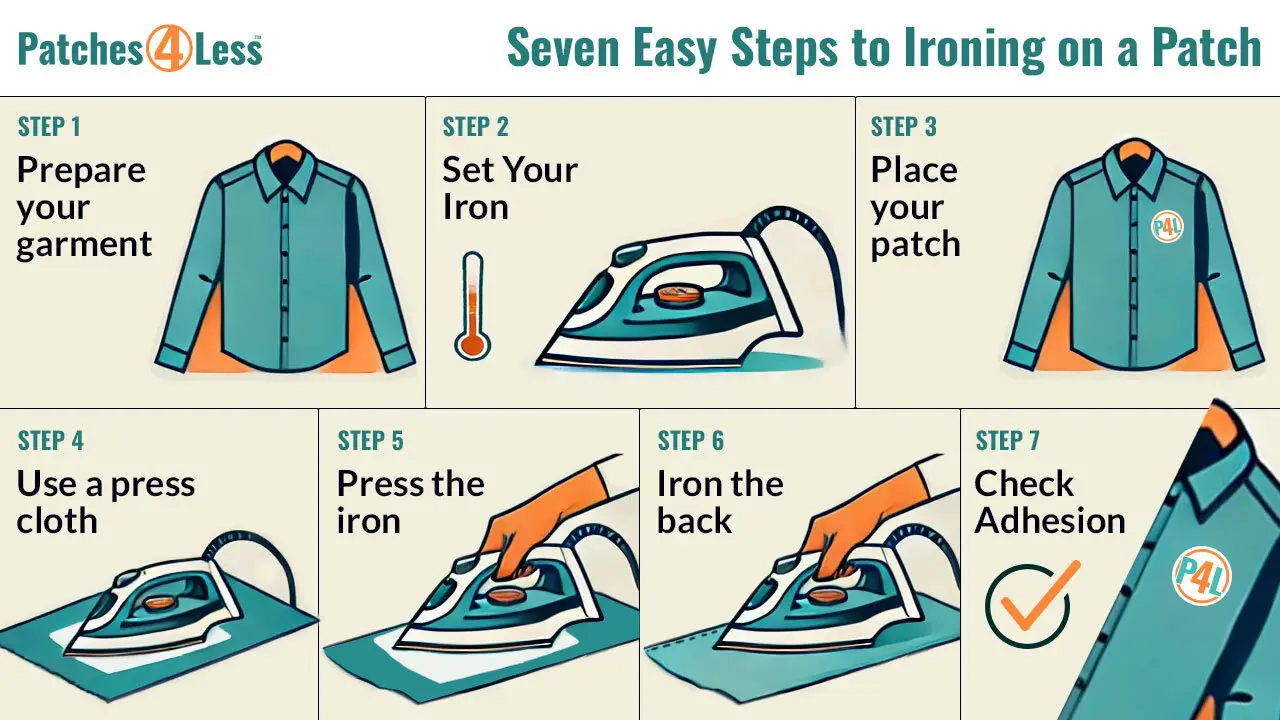
Let's breakdown each step with a little more detail.
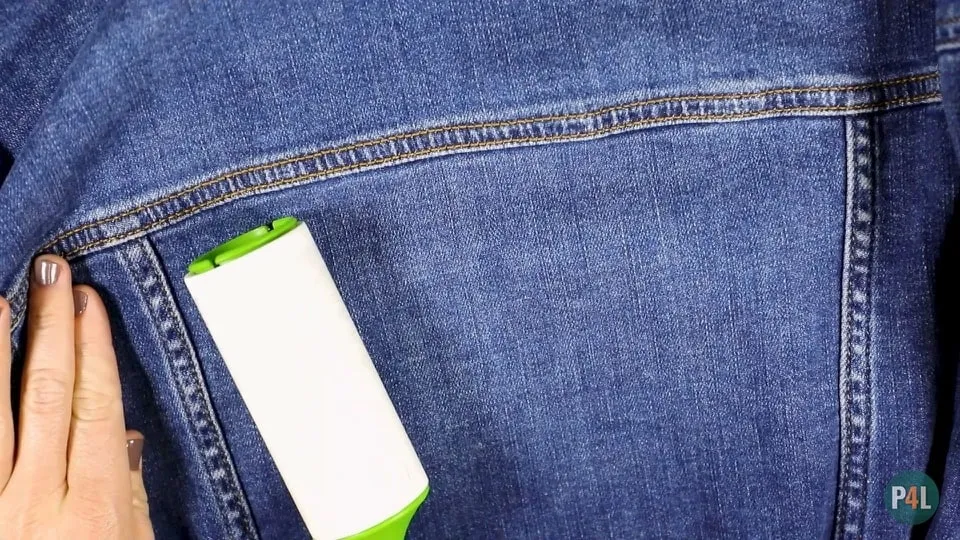
Step 1: Preparing Your Garment
Start by preparing your garment. It should be clean, free of any lint, and without wrinkles. Place it on a flat, heat-resistant surface, setting the stage for a smooth ironing process.
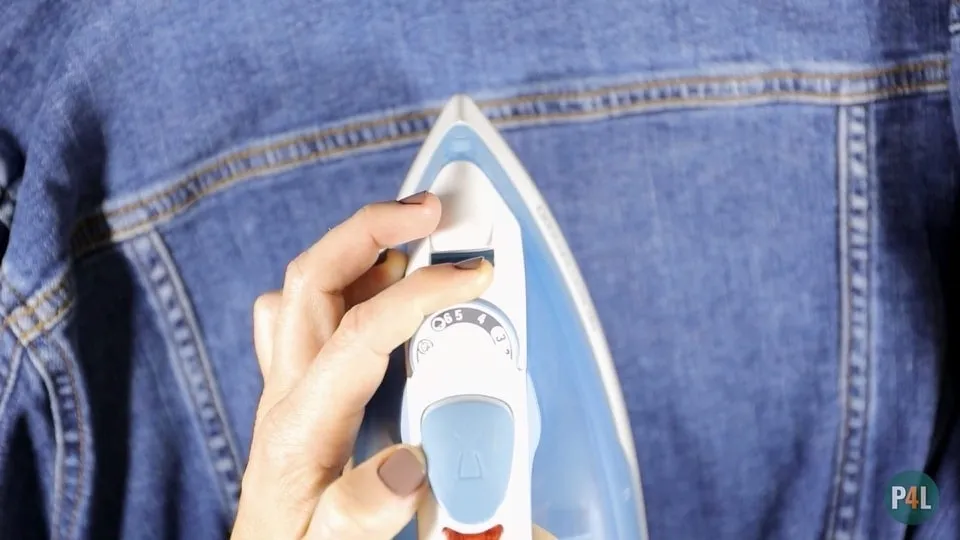
Step 2: Setting Your Iron
Set your iron to the appropriate heat setting. We usually recommend a medium-high heat and make sure that the steam function is off . The dry heat is what activates the adhesive on the patch. Cross-reference with the care label on your garment to ensure the heat level is safe for the fabric.
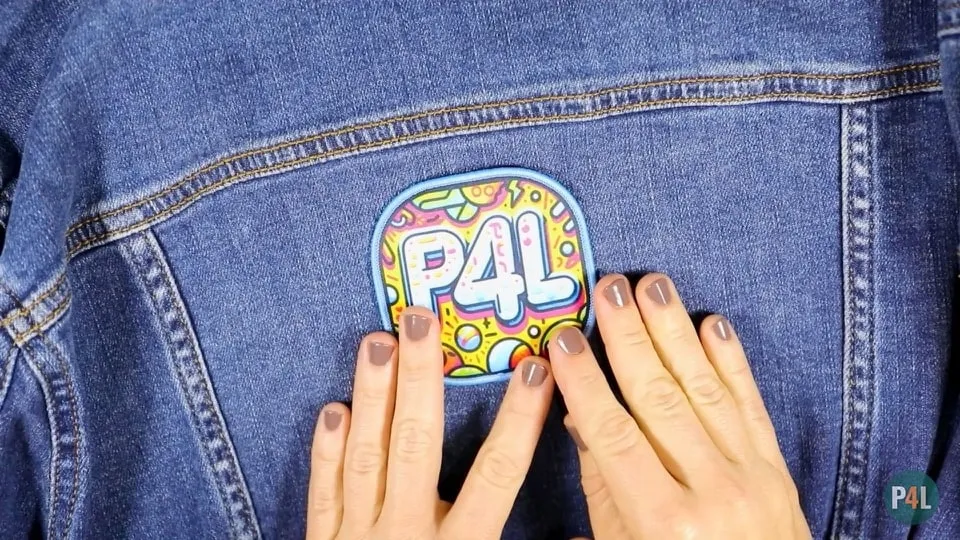
Step 3: Placing Your Patch
Decide where you want your patch to go. There's creative freedom here, but make sure the placement is practical when the garment is worn. Once you've decided on the spot, place the patch adhesive side down.
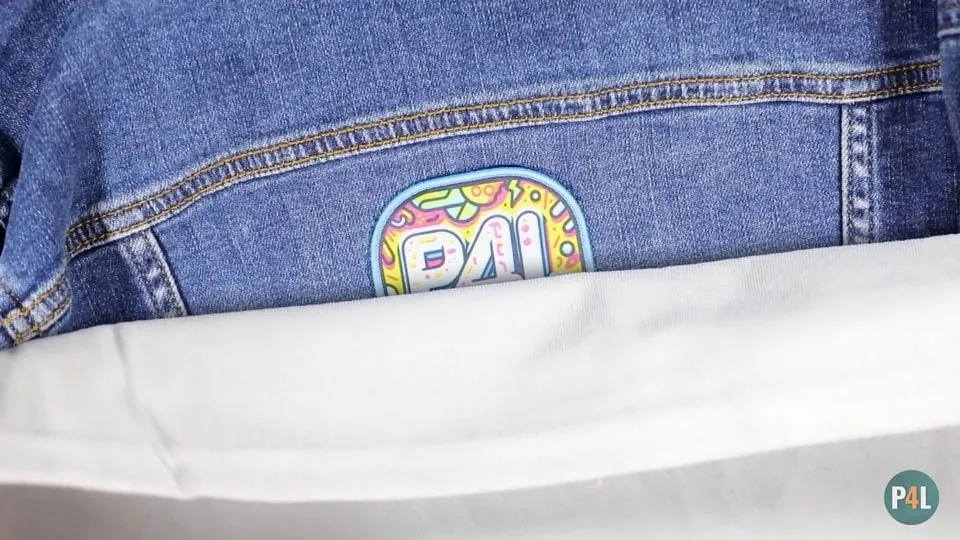
Step 4: Using a Press Cloth
To protect both the patch and your garment, place a press cloth over it before applying heat. This could be a white t-shirt, a towel, or any old piece of cotton fabric. It acts as a barrier, preventing direct contact between the iron and the patch. Be careful not to move the patch as you lay the press cloth down over it.
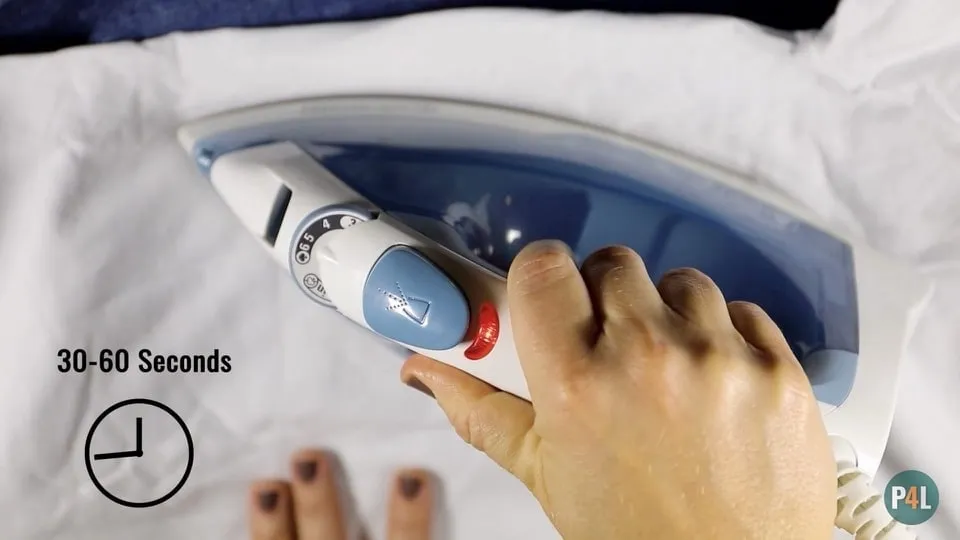
Step 5: Pressing the Iron
Now, press the iron down on the patch with firm, steady pressure. Hold it in place for about 30 to 60 seconds. DO NOT move the iron. This consistent pressure is critical to ensuring the adhesive melts and bonds effectively.
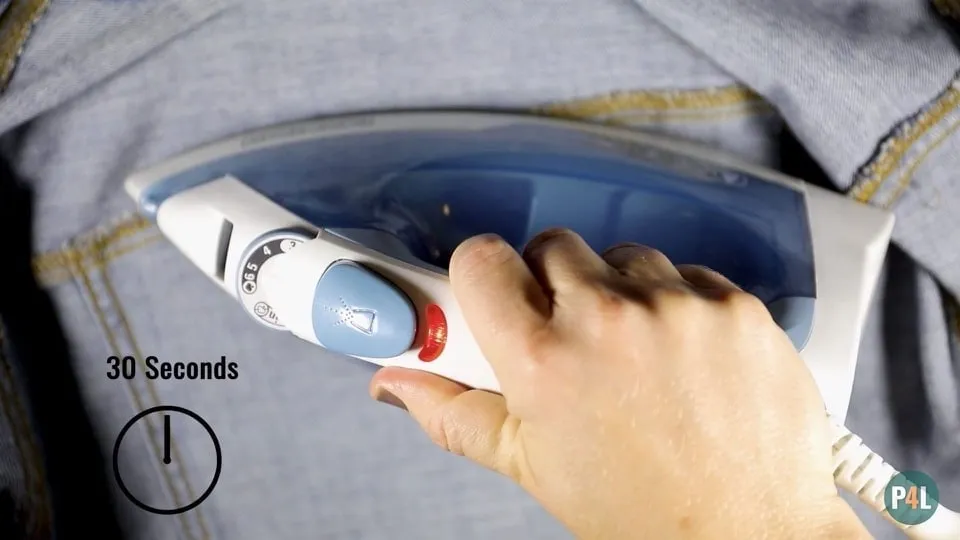
Step 6: Ironing the Back
Let the garment cool for 1 to 2 minutes before removing the press cloth. Flip the garment over or turn it inside out, lay it flat again, and press the iron directly onto the garment, on the back side of the patch, for 30 seconds. You don’t need a press cloth for this part unless the garment care tag recommends low heat.
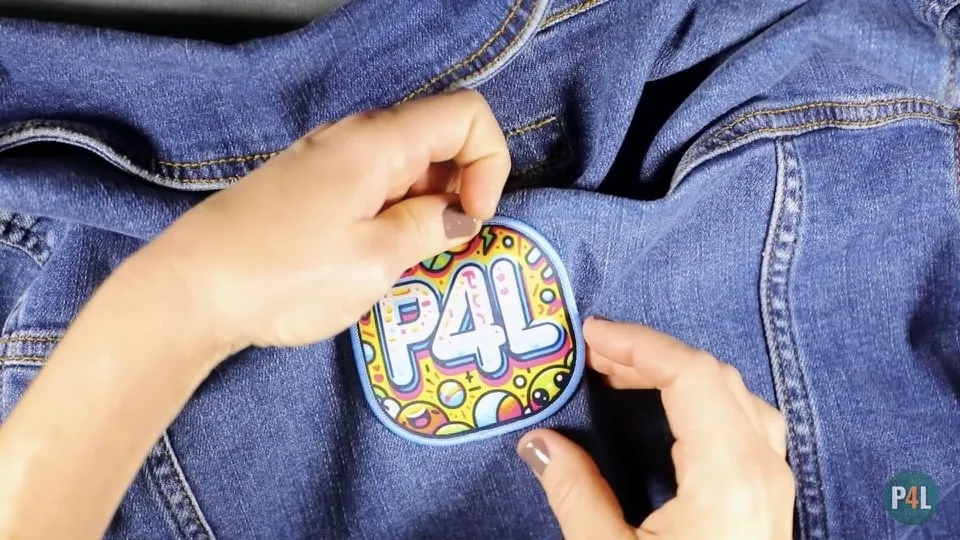
Step 7: Checking the Adhesion
After allowing the patch to cool, flip the garment back over and gently pull at the edges of the patch to ensure it has fully adhered to the garment. If any of the edges are lifting, simply repeat steps 4–6.
That's it! You're All Done
Congratulations! You've mastered the art of ironing on a patch, and your garment is ready to wear. We told you it would be quick and easy, and now you can go out a flaunt your customized style.
At Patches4Less.com, we're always excited to see how our customers bring their ideas to life. Whether it's a classic design or something completely out of the box, your custom patches are a way to make your mark on the world.

Need More Help?
If you have any questions or need advice on choosing the right patch or backing type, our team at Patches4Less.com is here to assist. Our expertise extends beyond just iron-on patches; we're here to support all your custom patch needs, ensuring you're completely satisfied with your custom patch creations.
Feel free to reach out for any patch-related inquiries or for tips on maintaining your custom iron-on patches. We're committed to helping you make the most of your patch experience.