Need help? Here’s how to sew on your new patches
Sewing on a custom patch might seem intimidating, but it doesn't have to be. Follow these simple steps and you'll be wearing your custom garments in record time!
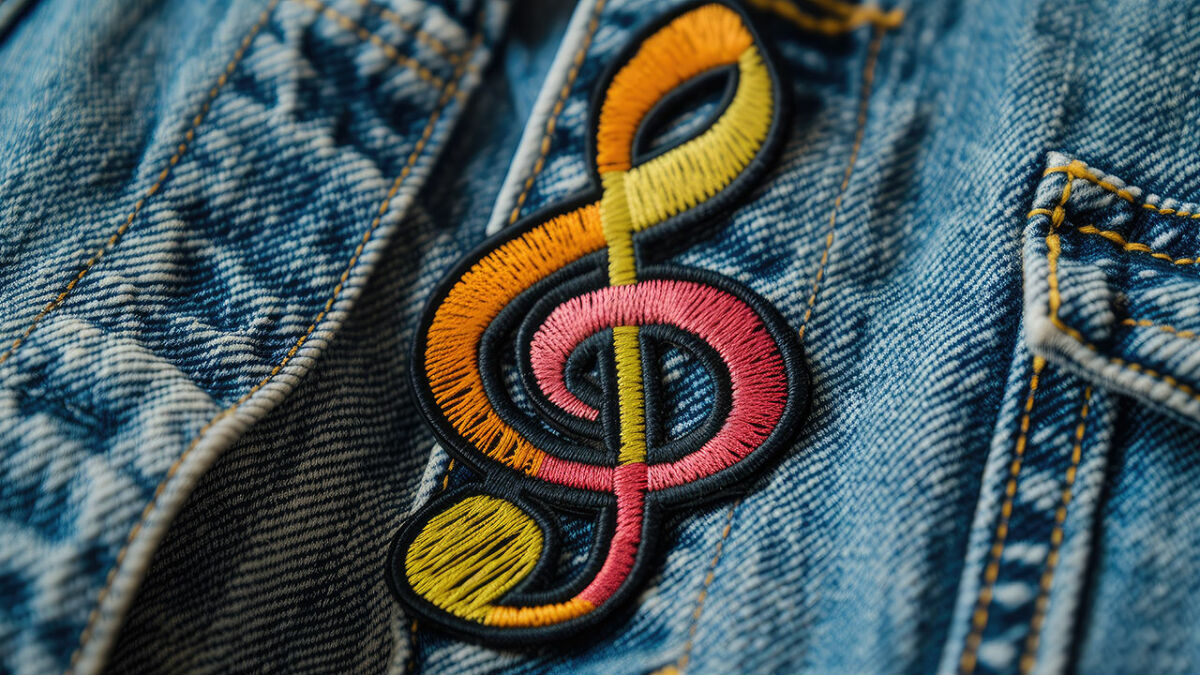
Sew on patches give ordinary garments a look of distinction. They help us identify officers, employees, soldiers, club members and more. They’ve long been durable, collectible embellishments for canvas bags, coats, vests, and virtually any garment.
Sewn-on patches offer the ultimate in durability and proper appearance. If you want to learn how to sew on a patch, the instructions below will show you just how quick and easy it can be.
Sew On or Iron On?
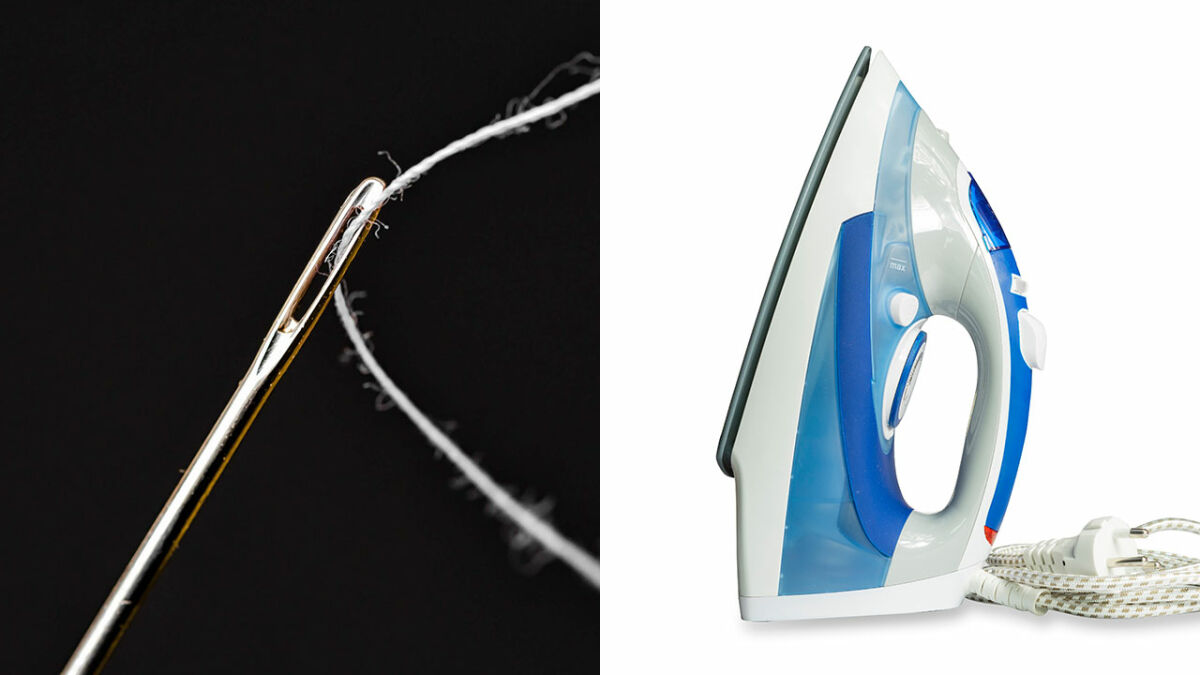
You might prefer to iron on your patches. Lots of people do. It’s a fast, easy way to attach patches to garments, backpacks and other items. If you have little or no sewing experience, it can be less intimidating.
There are several reasons why you might want or need to sew on patches, however. Some fabrics, including silk, leather and suede, can’t take the heat required for iron-on patches.
Another consideration is longevity. While iron-on patches are generally considered permanent, the adhesive backing will eventually break down from washing. Sewing provides a permanent attachment that will easily last the life of the garment it’s attached to. Even if you choose iron on, it’s best to stitch around the edges if you want your patches to be truly permanent.
Getting Started
Although patches are easy for anyone to attach with needle and thread, some people are anxious about the process of sewing them on. There’s no reason to be nervous about patch application. Even a novice needle worker can perform this simple task! If you’re ready to learn, grab a needle and some thread, and see how to sew on your custom patches!
You might prefer to sew on your patches by hand, or to use a sewing machine. The basics are the same for both, but there are a few differences we’ll cover later.
The Basics

1. Before you begin any sewing, wash and dry your material. You might not think this is necessary for new clothing items, but it’s an important step to eliminate shifting and bunching, which can occur when fabric shrinks.
2. Iron your material if necessary. You want to be sure the surface where your patch will be applied is smooth, clean, and dry.
3. Find a well-lighted area in which to work. Even those with eyes like eagles can have trouble threading a needle or operating a sewing machine in a dimly lit room.
4. Play with the placement of your patch, moving it around and examining it until you find the perfect spot to attach it. For precision’s sake, use a straight pin or two to hold the patch until you can permanently attach it.
Now that you’ve completed the preparations, you can start sewing! Depending on whether you’re sewing by hand or machine, skip to the appropriate Step 5 below.
Hand Sewing

5. Choose your sewing needle and thread. To get a professional look, find thread that closely matches your patch or fabric. Any basic, good quality cotton blend thread will do.
6. Pull approximately 18 inches of thread from your spool and cut it at a 45-degree angle. The longer your thread, the harder it will be to work with. Lengthy strands of thread are likely to get twisted, tangled and knotted.
7. When it comes to threading needles, we highly recommend the use of a needle threader, available at fabric, craft and discount stores. These simple, inexpensive devices make threading your needle a lot faster and easier. But don’t be discouraged about threading by hand. With good lighting and a little patience it can be done.
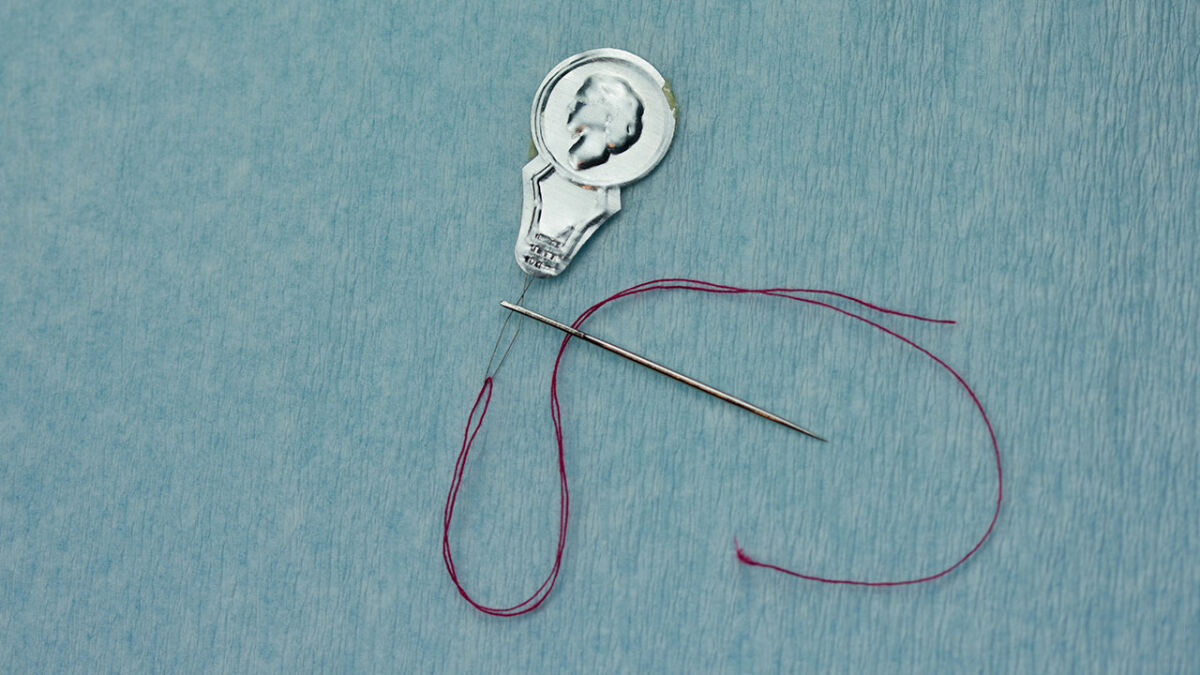
Hold your needle up to the light and pass the cut end of the thread through the eye of the needle. If you have trouble, dampen the end of your thread to smooth any frayed edges. Pull the thread through and tie a knot near the end.
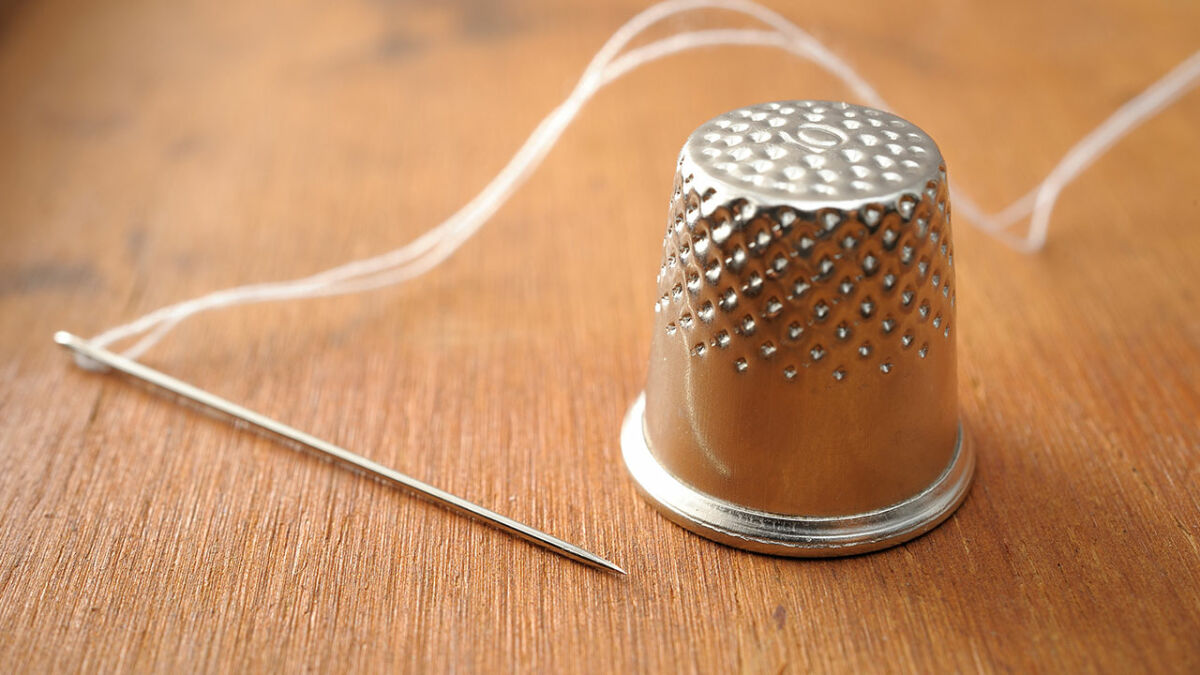
8. Turn your fabric over and work from the back to the front. This will conceal the knotted end of your thread once your patch is attached. Poke your needle through the edge of the patch, using your hands to guide you. Be careful not to prick your finger! A thimble is your friend here.
9. Pull the needle through the front of your fabric and repeat this action, leaving about a quarter of an inch of space between your entry points.
10. When you’ve finished the sewing, take your needle and slip it under the stitch to form a loop. Guide your needle through the loop and pull to tighten. Repeat at least once to reinforce your knot.
Machine Sewing
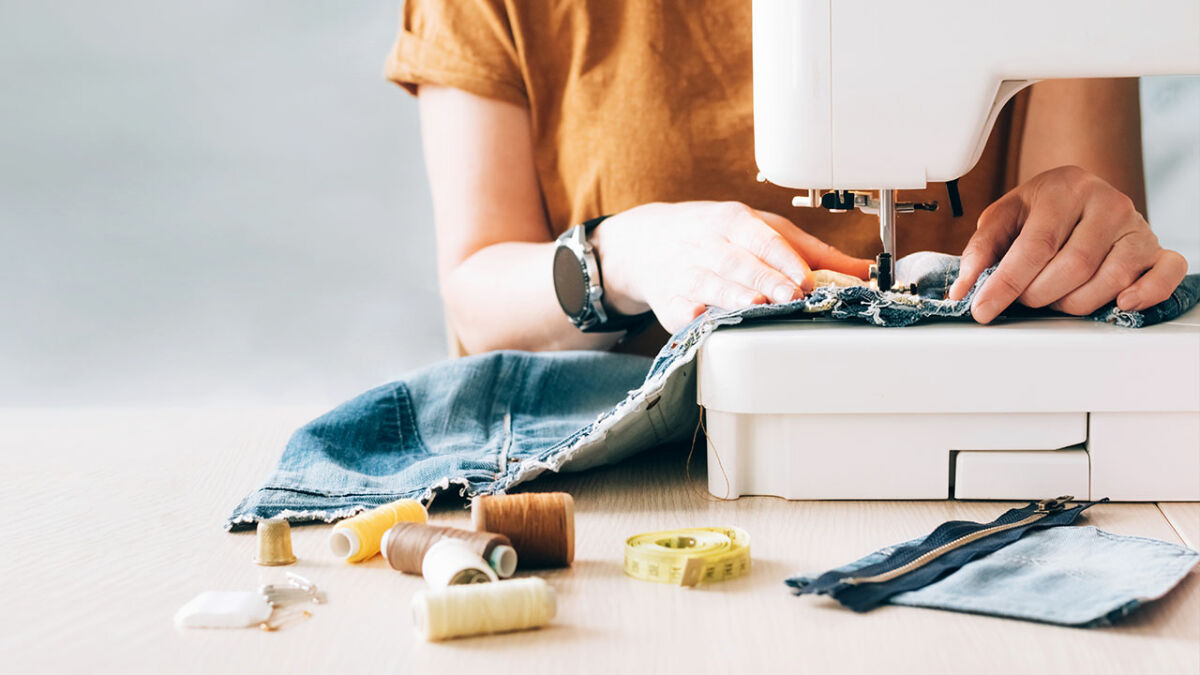
5. Choose your patch location carefully. Any areas near seams or areas that are hard to reach can make it harder to sew the patch on.
6. Once you have determined the placement of your patch, use safety pins to hold the patch in place. This will ensure the patch stays put while you are sewing.
7. Be sure that you can get the garment under the machine's presser foot. Some items, including bags or backpacks, might be too thick to fit. Also, make sure that you have only a single layer of the garment, because the last thing you want to do is sew the garment together.
8. Thread the machine with your thread of choice and select a straight stitch on the machine. Align the needle with the inside border of the patch and lower the presser foot. Back-stitch for 2-3 stitches to secure the thread and then sew along the inner edge of the border.
9. If your patch is circular, turn the garment and patch as you sew. Again, be sure to follow the border of your patch. If the patch has straight edges, sew straight towards your first corner and make your needle go through the patch and the garment. Lift the presser foot and swivel the garment 90 degrees on the corner using the needle as an anchor. Lower the presser foot and start sewing along the next straight edge. Repeat this process for each corner.
10. When you reach the spot where you began sewing, back-stitch again for 2-3 stitches to make sure it holds. Then, with your needle in the highest position, lift the presser foot and remove the garment from the sewing machine. Trim the excess thread and remove your safety pins.
You Did It!
Congratulations, you’re now the proud owner of a sewn-on patch! May it be the first of many durable and distinctive patches that grace your totes, jackets and jeans!