The Beginners Guide To Sewing On Custom Patches
Sewing on a custom patch is easy. Just follow the steps.
Custom patches are great for adding style and personality to any garment. They also help us identify officers, employees, soldiers, club members, and others . Some become collectibles, while others provide a durable way to elevate the style of bags, jackets, vests, and any other garments.
Sew-On Patches are Easy
Sew-on patches are the most common, but not everyone is comfortable sewing on their own patches. However, it's quite an easy process that anyone can accomplish with a simple needle and thread. Even a novice can perform the task. If you are ready to learn, let's get started!
Wash and Dry Your Garment First
First things first, before you begin any sewing, it's essential to wash and dry your material. While this may seem like a menial step, it's crucial to eliminate shifting and bunching, which is common when fabrics shrink. Iron your material if needed. The fabric that you want to apply your patch to should be smooth, clean, and dry. If it isn't, this could affect the placement of your patch, as well as its durability.
Lighting is Key
Before you begin sewing, be sure that you are working in a well-lit area. Threading a needle is hard enough, but doing it in the dark can be a challenge on its own. A well-lighted workspace will also allow you to get a better look at your fabric when lining up your patches placement and more.
Don't be afraid to examine the placement of your patch. Move it around, look at new areas, and be sure to pick out the perfect spot to attach it. To make your placement even more precise, use a straight pin or two to hold the patch while you apply your thread.
It's Sew Easy
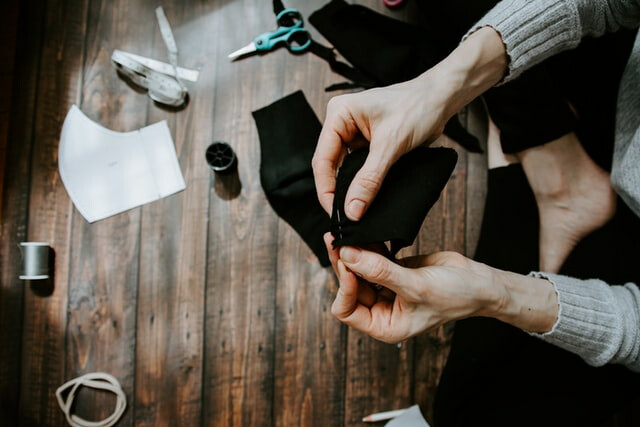
Now that you have a clean, dry, ironed garment, a well-lighted work area, and the placement of your patch aligned, it's time to start sewing. Choose your sewing needle and thread. For a clean, classic look, look for a thread that matches your patch or the fabric. Any cotton blend is perfect and will provide a strong, reliable hold.
Start with about 18 inches of thread and cut it from the spool at a 45-degree angle. Keep in mind, the longer the thread, the harder it is to work with. Longer strands tend to get twisted, tangled, and even knotted. Be sure to keep your thread short and sweet for a smoother experience.
Threading the Needle
Hold your needle to the light and pass the but end of the thread through the eye of the needle. You can dampen the end of your thread to smooth any frayed edges. Pull the thread through and tie a knot near the end. If you have extra trouble threading your needle, try a needle threader, which can be found at any fabric or craft store. This simple little device makes the task much easier. We recommend it highly.
Sew From the Back
When applying your patch, turn your fabric over and work from the back to the front. This makes for a cleaner look and will conceal the knotted end of your thread once you are finished sewing. Push the needle through the edge of the patch and use your hands as a guide. Be careful not to prick your finger when applying your patch -- a thimble is your friend. Pull the needle through the front of your fabric and repeat this action all the way around the patch. Leave about a quarter of an inch between each of your entry points.
Once you have completed sewing, slip your needle under the stitch to create a loop. Guide the needle through the loop and pull it to tighten. You can repeat the process at least once to add further hold to your knot.
And there you have it. You have successfully applied your sew-on patch! By following this step-by-step guide you can ensure success. Once you've sewn on your first patch and seen how easy it really is, you can add even more patches!
