The Other Side: A Guide For Removing Iron-On Patches
Iron-on patches are the easiest kind of patch to apply. They're a bit trickier to take off. Here's how to do it properly.
Iron-on patches are great for several reasons. One of their most appealing attributes is that they are the easiest kind of patch to apply. Thanks to a heat-activated or fusible adhesive, iron-on patches are attached to a fabric. And, while they are easy to apply, they can be much more difficult to remove. Beyond that, patches that have been removed tend to leave behind an unsightly glue residue that can stain the fabric.
While we have discussed the best ways to apply iron-on patches, today, we take a look at the best ways to remove them. Let's dive deeper! There are a few different methods to removing iron-on patches, the most popular being the melt and peel method. The idea is to melt the glue that has the patch holding on to the fabric.
Rule #1: Proceed Carefully
Before you start, ensure that your fabric can take the heat. Unless you add the patch yourself, you will need to ensure your garment will not be damaged by ironing it. Pick a small part of the item that is not easily visible during normal use and place wax paper or a thick dishtowel on top of the area. Press down with a preheated iron on the small area you are testing. Hold the iron in place for about 15 seconds and remove. Check the area for damage or discoloration. If you treat a delicate item, be sure that the iron is on the proper setting. Read the adhesive remover method explained below if you don’t have experience ironing this type of fabric.
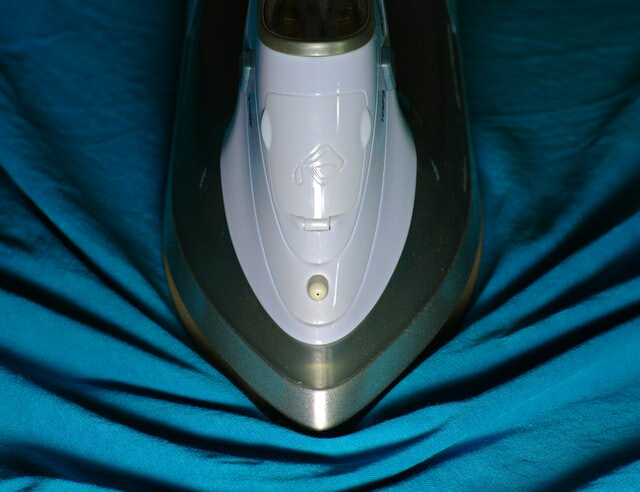
Once you have determined that your garment can withstand the heat, cover the patch position to expose the cloth part of the patch. Use wax paper or a thin cloth towel placed over the patch and make sure the covering is completely clean and free from any debris that may melt into the fabric. Iron the patch by preheating your iron to its highest setting before use. Press the iron down on top of the cloth where the patch would be and hold it in place for about 15 seconds. Remove the iron and the covering from your patch.
Be Patient
If the glue does not appear to have softened, apply the iron again and keep adding heat until the adhesive melts. The heat should be enough to melt the glue and allow you to lift the patch from your garment. Lift the edge of the patch up slowly and peel it off of your item. Hold onto the item with one hand and peel with the other.
Be careful; the adhesive will be hot and could burn your skin. If you have trouble lifting the patch, use tweezers or a butter knife. If needed, use your fingers to lift the patch. You may have to make a few passes with the iron for larger patches.
An Alternative: Adhesive Remover
For the adhesive remover method we mentioned earlier, pay attention. This is best for garments that are not designed to withstand heat from an iron. Using a fabric-safe adhesive remover is your best bet. Choose one that is xylene or orange oil-based and pick a liquid-based product able to soak through the fabric.
Of course, be sure to test your clothing even if the remover is advertised as fabric safe. Test the remover on a small piece of fabric and do it over a clean sink to avoid a mess. Ideal areas for testing include the inside back bottom edge of a hat or jacket. Work the adhesive remover into the fabric using your fingers or a clean rag, then rinse. Check the area for discoloration.
Once you are ready to start, expose the area underneath the patch. Turn your garment inside out and access the bonded fabric to the patch. Work the glue remover generously on the back of the material and use enough so that it soaks through the item completely. Make sure to cover the entire area behind the patch and work the liquid into the garment using your fingers or a clean rag. Let it sit for about a minute and allow the remover to loosen the patch.
You should be able to peel off the patch. Turn the item right side out and hold it with one hand while gripping the edge of the patch with your fingers. Pull back to lift the edge of the patch up and away from your garment. Be sure to work your way around the patch until it has been completely removed. If areas of your patch are still stuck, no problem. Reapply the adhesive remover however many times it takes.
Removing Residue
Now, let's discuss that unsightly residue that is left over. Once you have removed your patch, check for stains from the adhesive. If the area is now discolored or sticky, take further action to remove the residue. If you used the adhesive remover method, laundering your item may remove the adhesive on its own.
Apply adhesive remover directly to the residue and massage it in. Allow the liquid to work for about a minute before removing it. Then launder the item as you normally would and do so as soon as possible to remove the solvent. If there is still residue left after you’ve washed your item, repeat the process with more remover. Removing a patch is far more difficult than applying one, but it can be done.
Here at Patches4Less.com, we know all about custom embroidered patches, from iron-on patches to sew-on patches and beyond. To find out more about what we do, give us a call toll-free at 866-847-2824 or email us. We're here to help!